In search of ethical AI-generated art
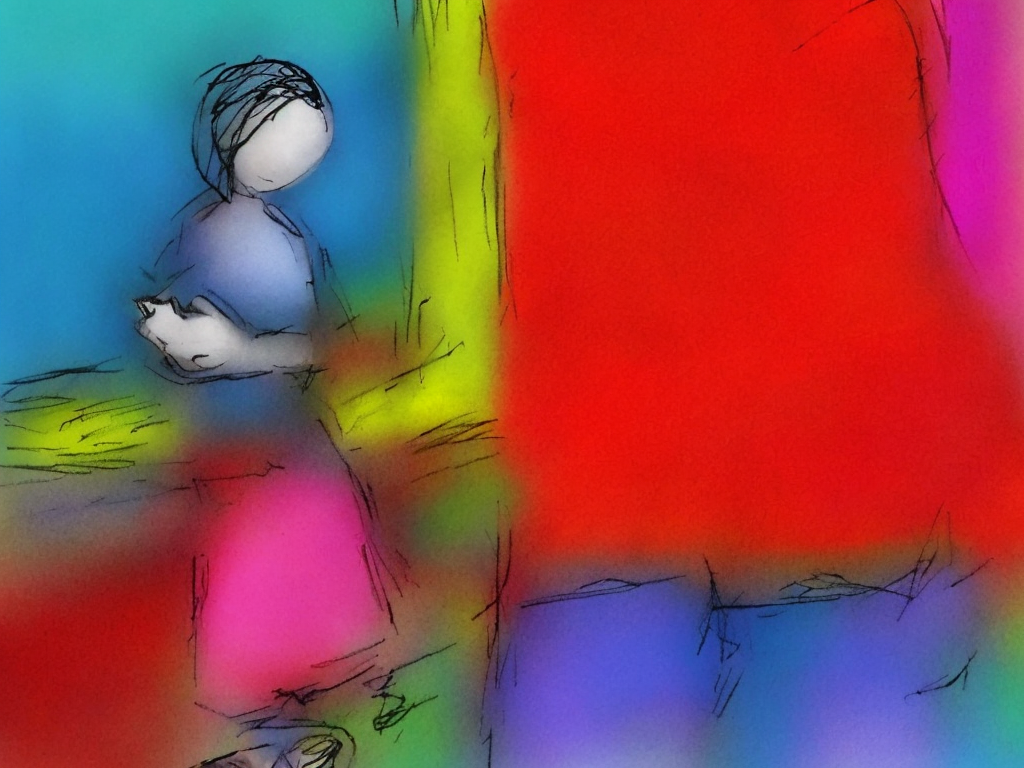
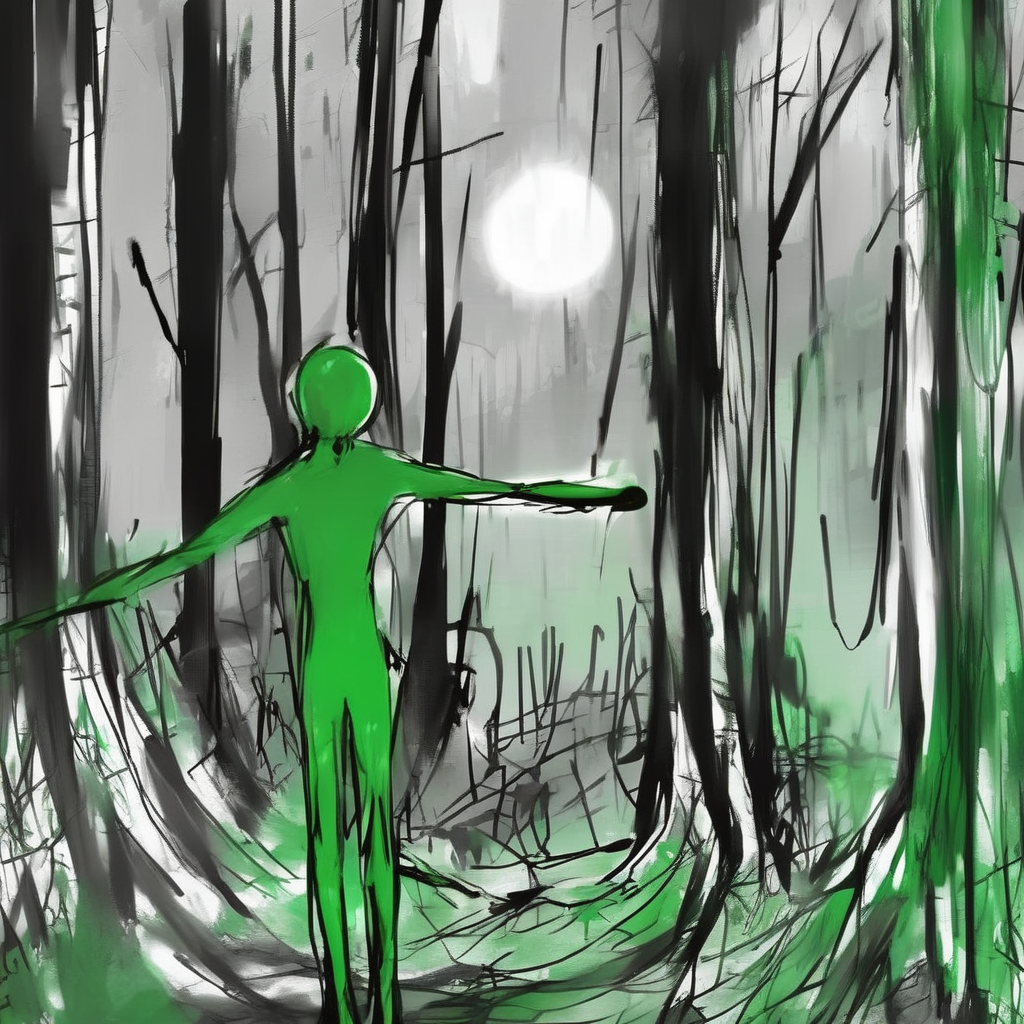
As I mentioned in the previous post, I experimented with prompting DALL-E to produce minimalist imagery for this blog, and I was largely happy with the results. The black-and-white sketches gave the home page a cohesive look and feel, and generating the images was faster and easier than searching for stock art. And yet, I had qualms.
While I'm comfortable using AI-generated art for this personal project, I was concerned about the future. Suppose, in a year or two, I decide to seriously explore selling an app or an eBook through this blog. By then, I might have between 100 and 150 posts, all illustrated with AI-generated artwork that would need to be replaced with images I knew for sure could be used in commercial projects with their creators' consent.
Rather than risk that kind of hassle, I decided to address the issue now by investing more time into finding an ethical way to take advantage AI-generated image creation.
Tess: High-end AI-generated art that pays artists
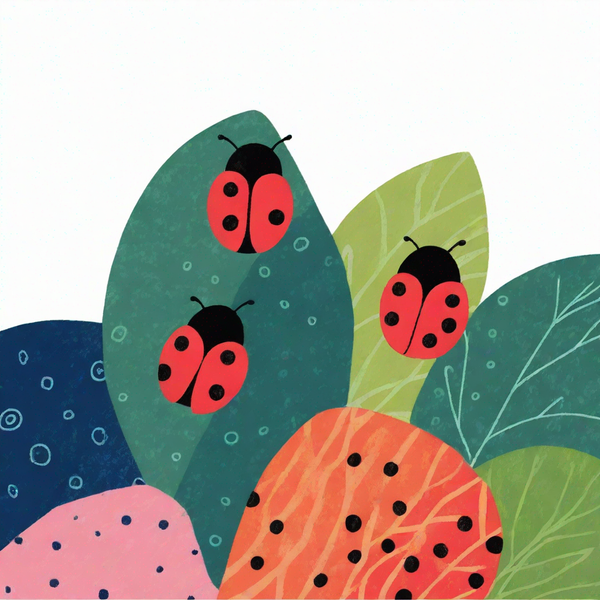
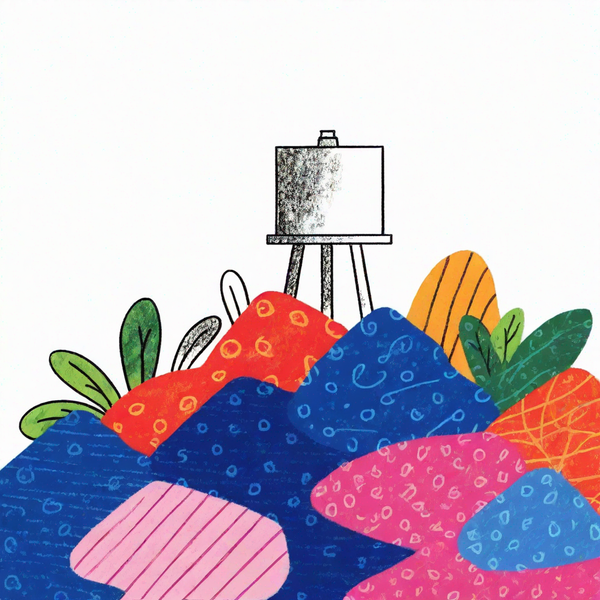
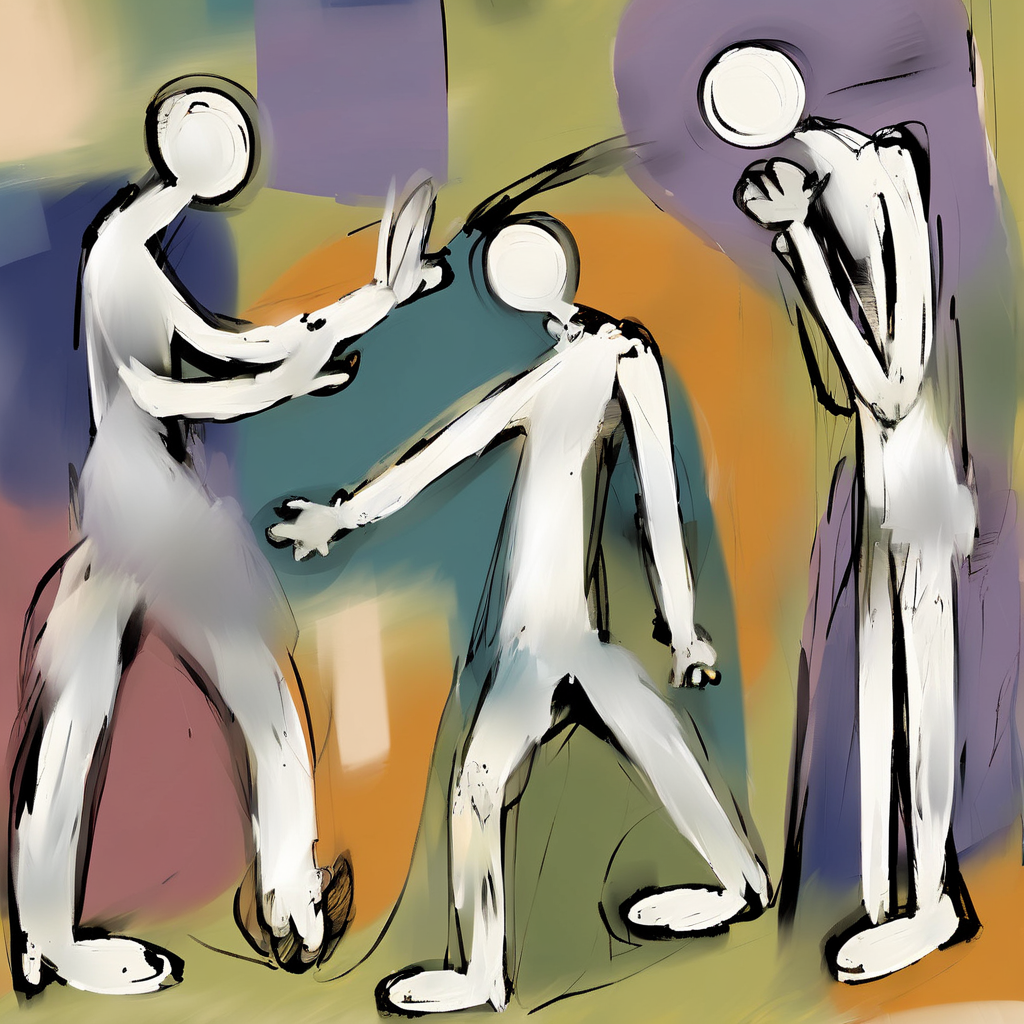
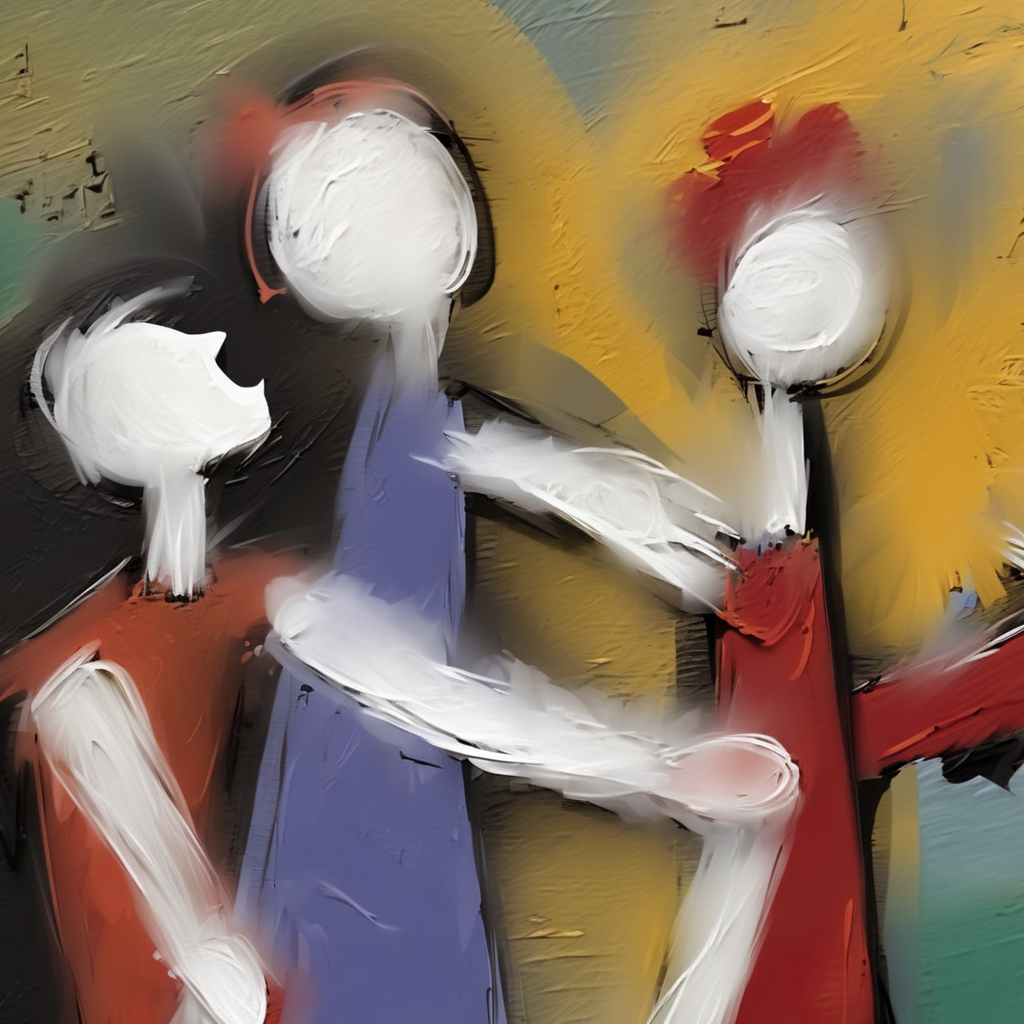
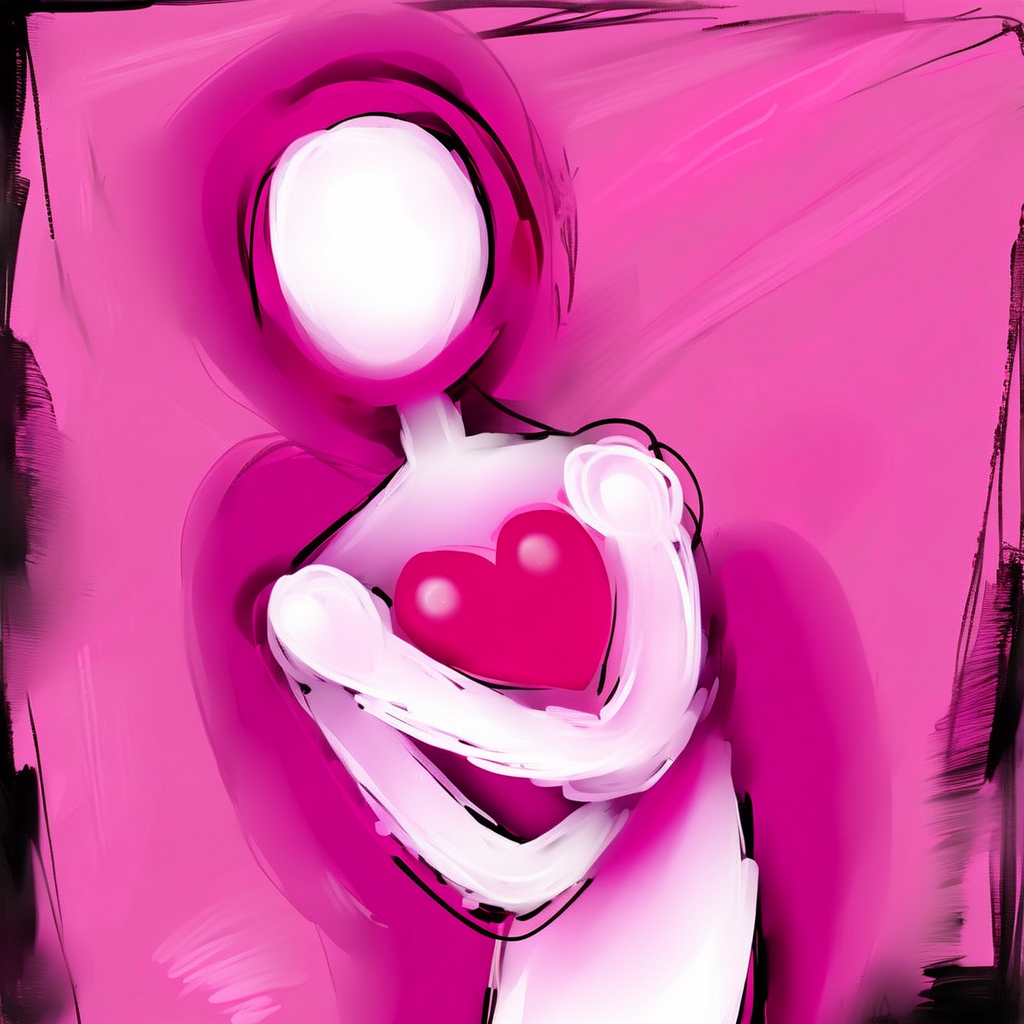
After visiting numerous forums and Googling various permutations of "ethical AI art generation," I stumbled across Tess Design, a startup that works with artists to train AI models that create imagery in their style and pays them for images that users generate and download. The models currently on their site offer a wide range of styles, and generate a wide range of gorgeous images.
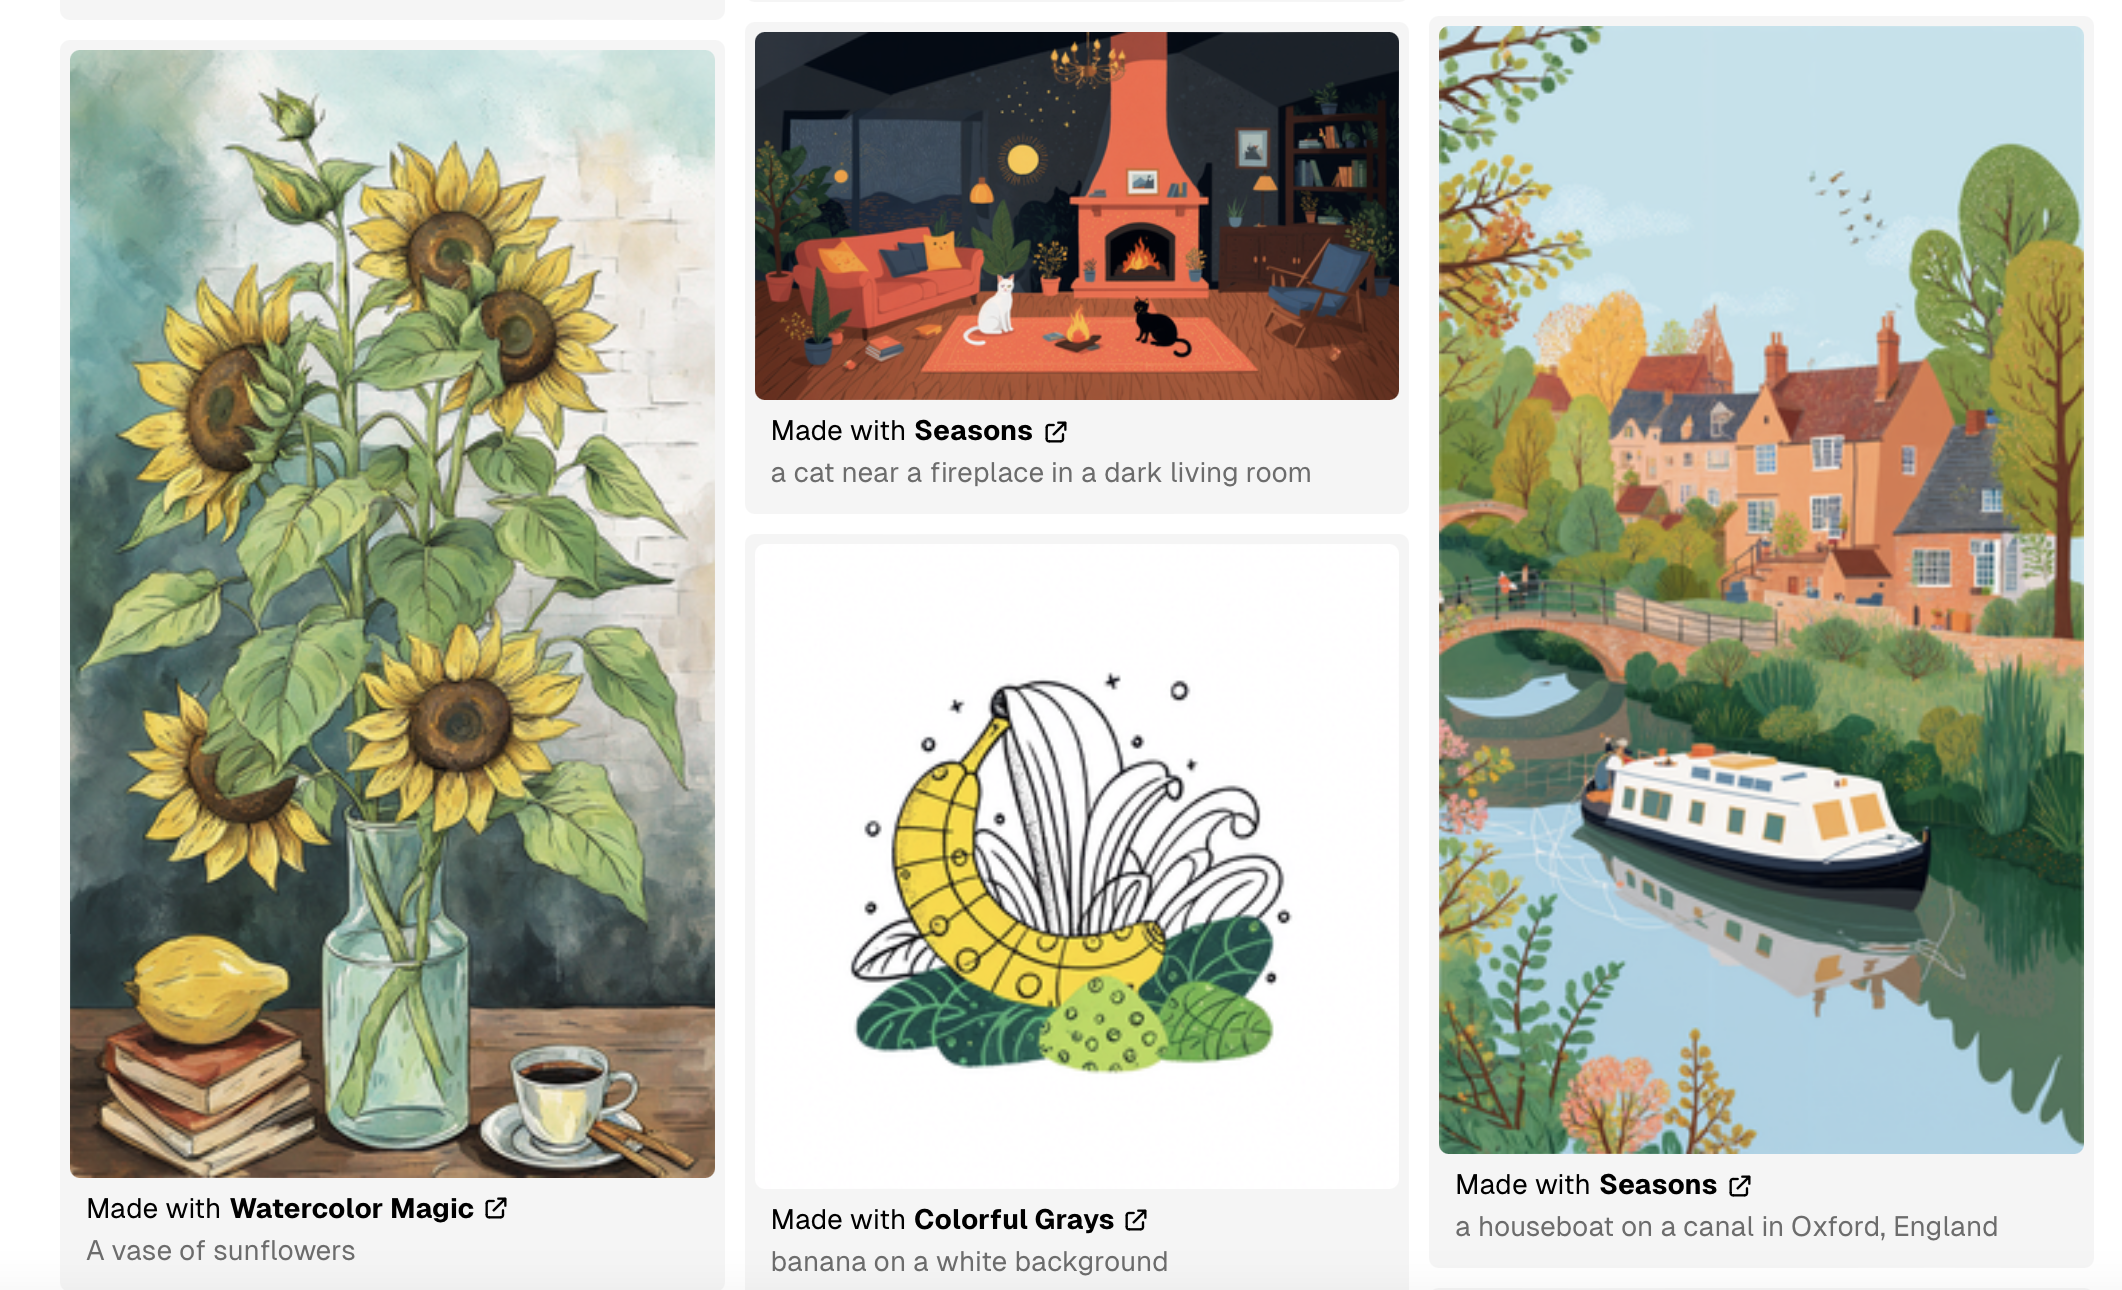
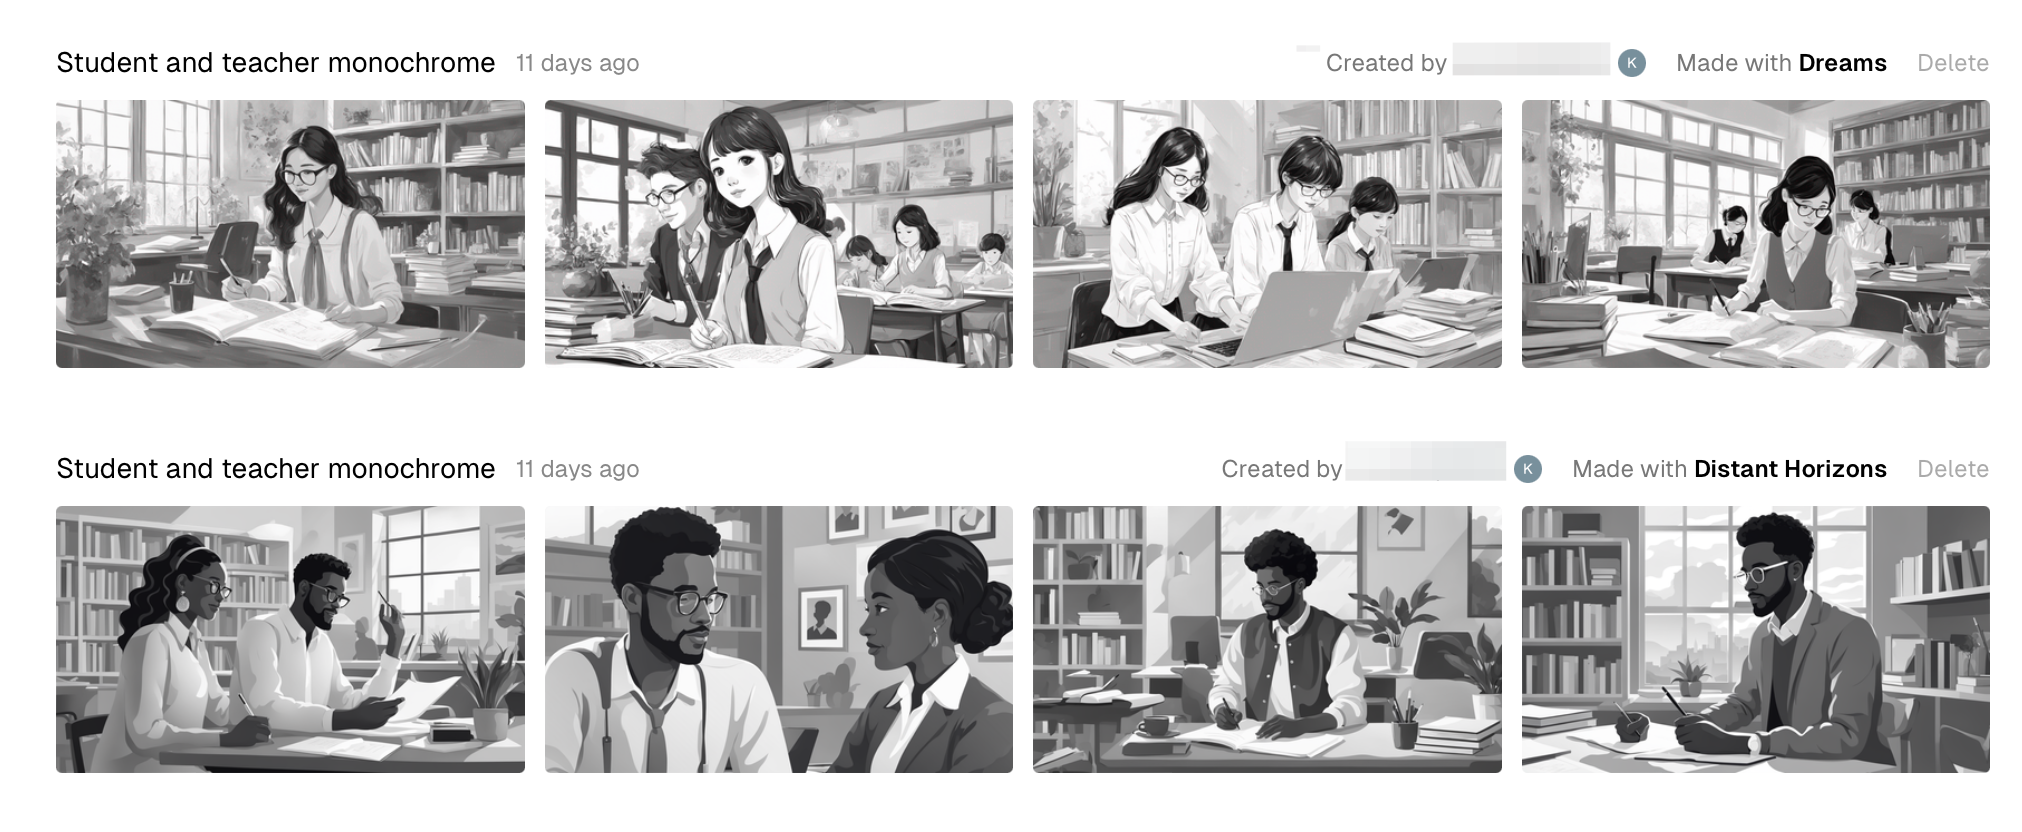
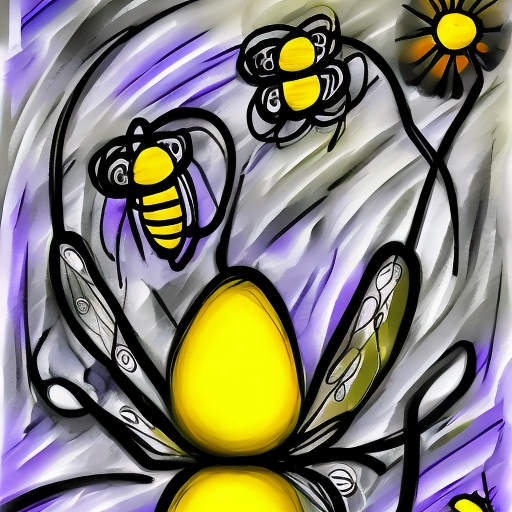
A smattering of imagery generated by Tess models. Numerous styles are available.
Tess also offers an option for training a model on your own artwork. The process requires 10-30 or so high resolution images and is very straightforward. It look me about 10 minutes to upload the training images and describe my art style, and after about 15 minutes of processing, the model was ready. I was very curious to see how closely it would mimic my style.
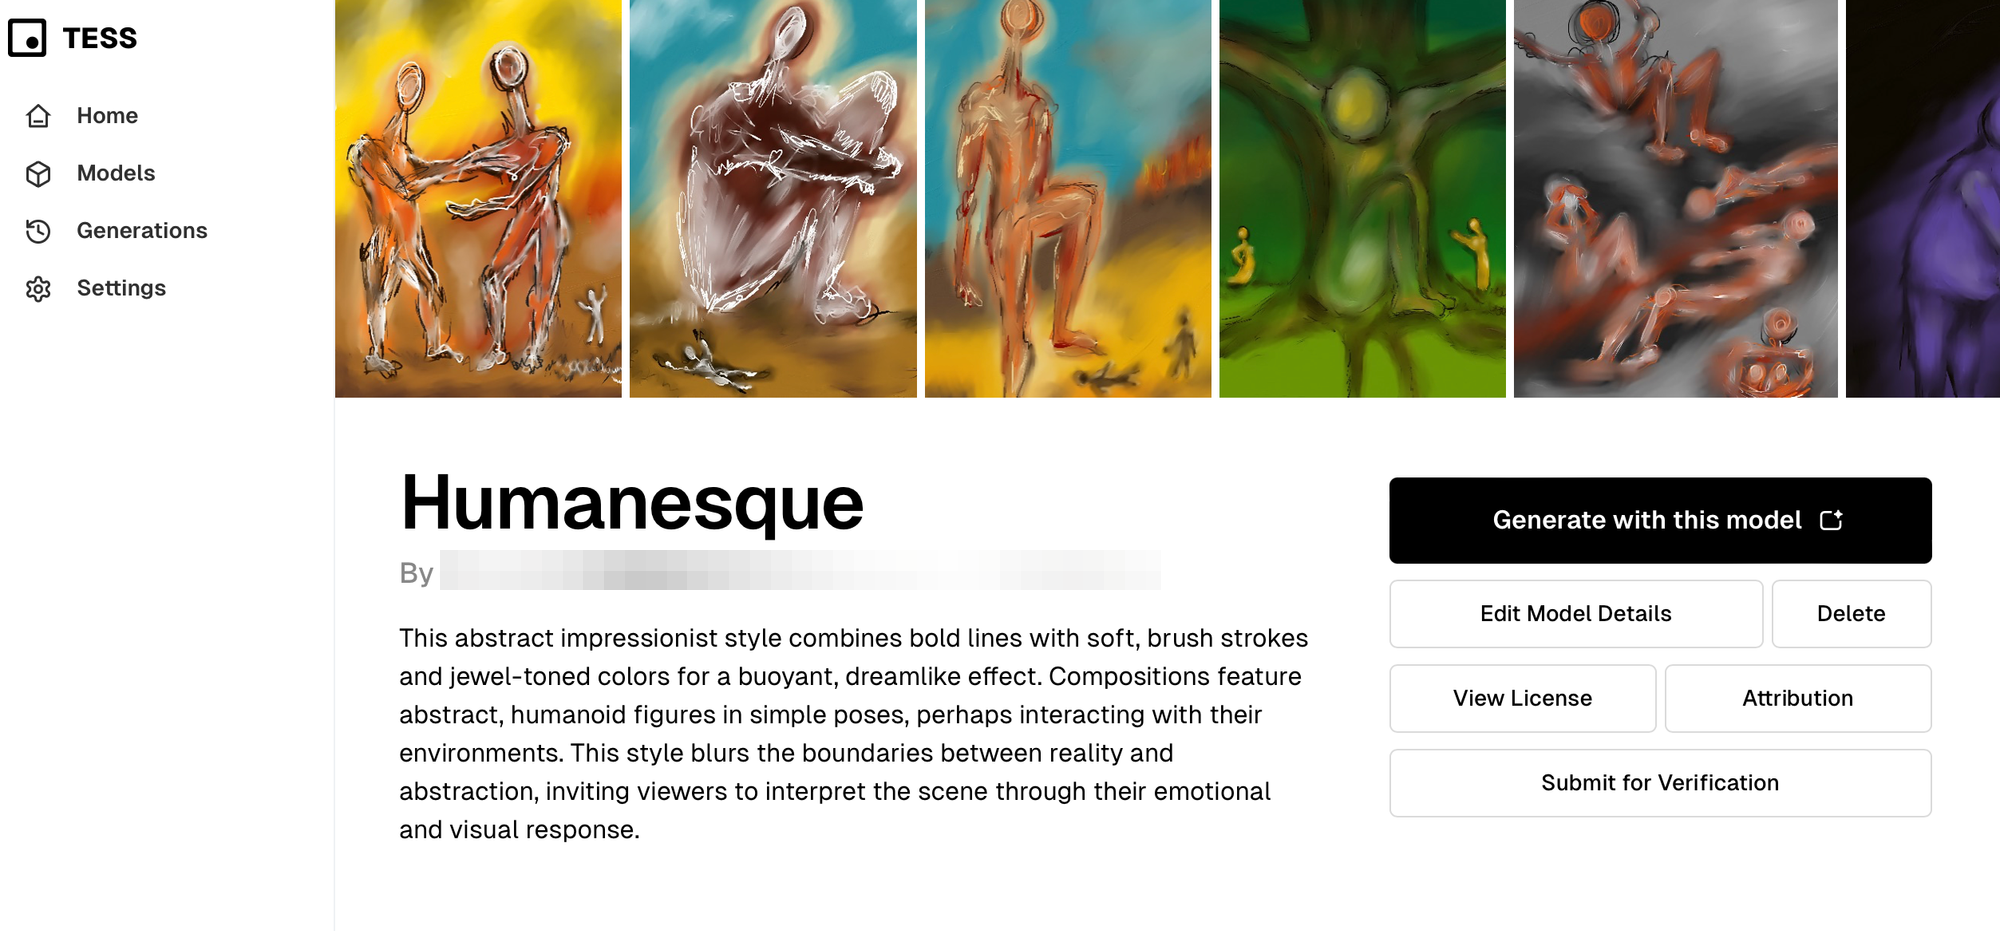
Alas, when I selected the "Generate with this model" button, a paywall appeared:
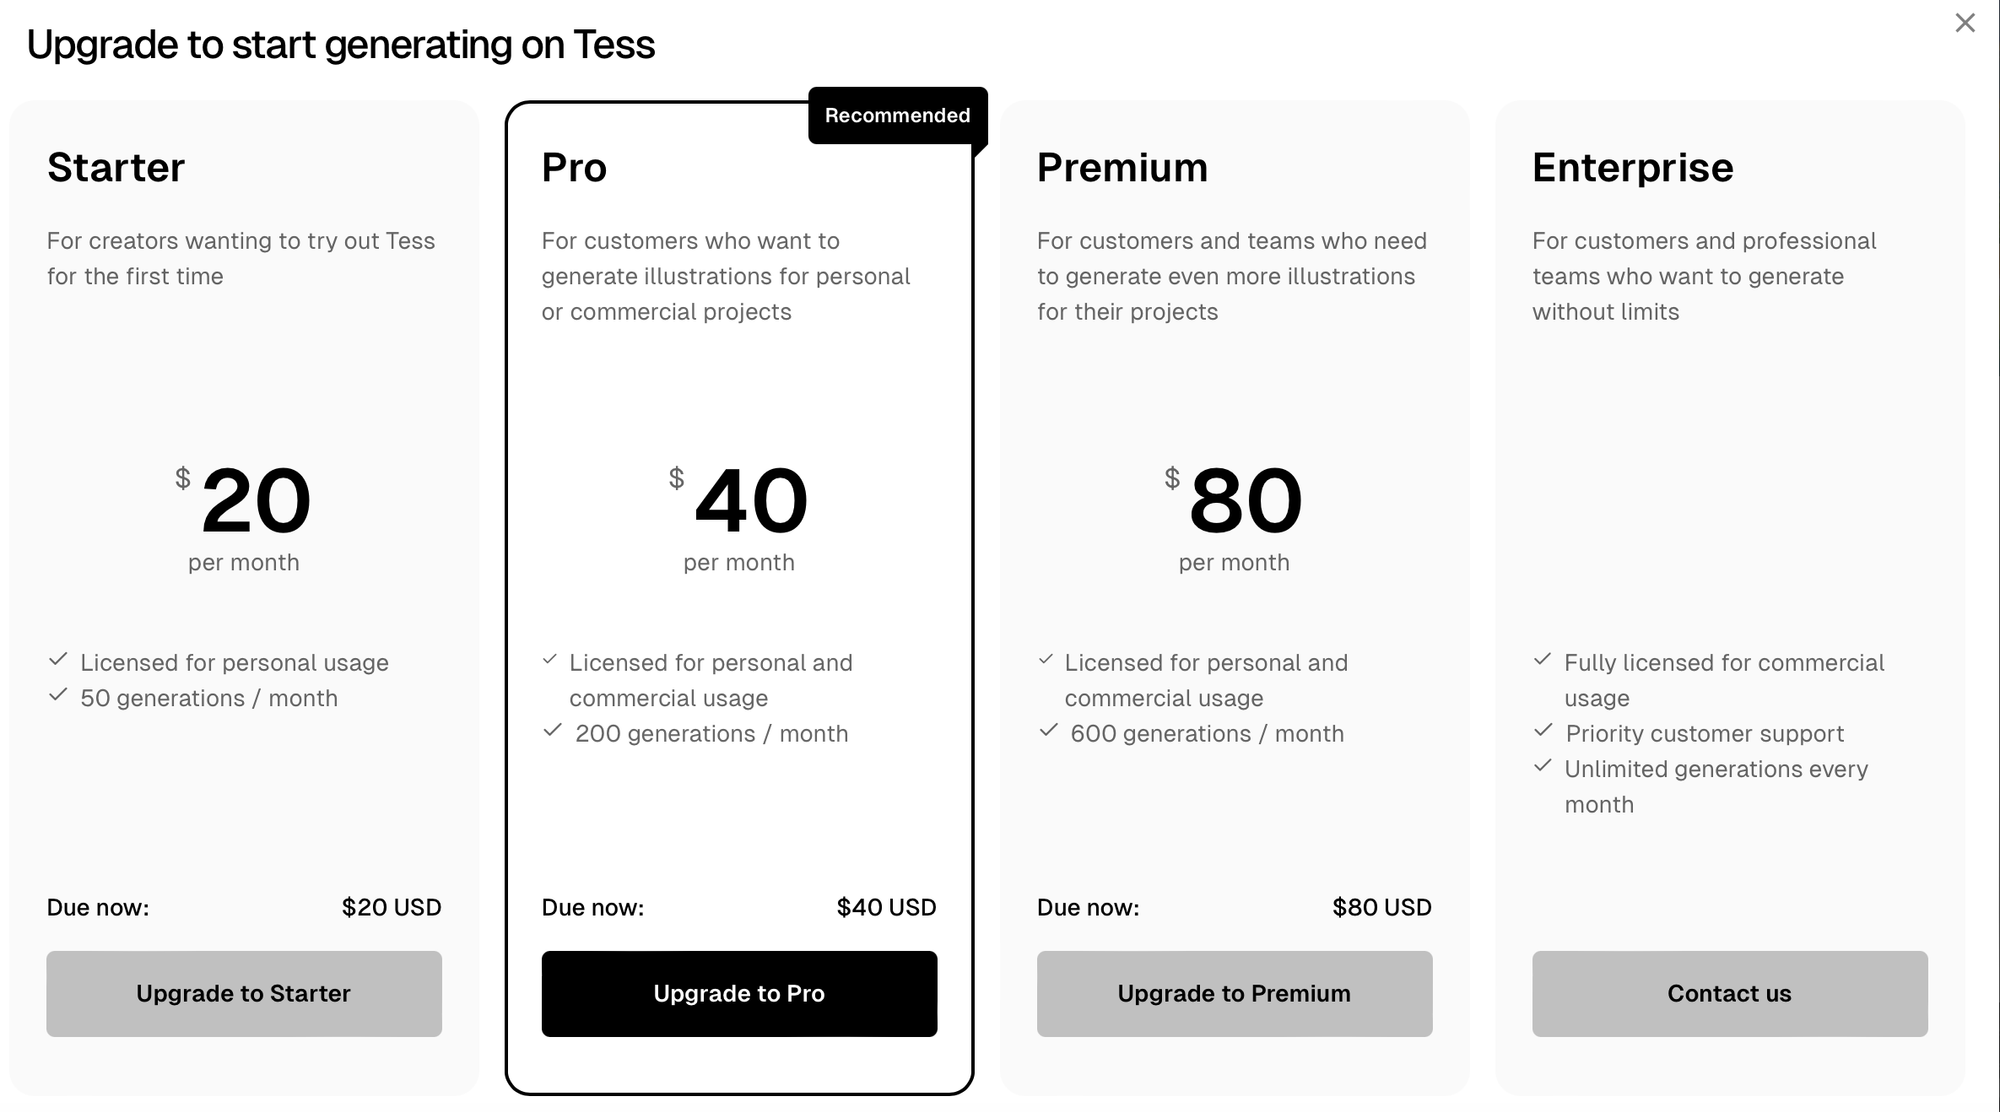
Honestly, if I had the budget for the $40/month subscription plan—the least expensive option that permits images to be used in commercial projects—I would just pay for an account and declare victory. However, as I have a very limited funds for AI-related explorations—think spare change from my couch cushions—my search continued.
Updated to add that I've started using Tess to support this blog and a few other projects that came up.
Pros
A wide range of artists and styles to choose from
Image generation is quick and usually consistent with both prompts and artists' styles.
Participating artists are paid for the images their models generate.
The ability to train a model in your own art style.
Cons
May be too expensive for some budgets.
Dreamlook: Training your own AI model, the easy way
By this point, I was seriously intrigued by the idea of training my own model—and I had convinced myself that my loosely drawn digital sketches, while not professional works of art, were perfectly fine for this small blog. After some casual searching, I quickly discovered that there are many options for training your own, custom model.
Most of these options rely on the Dream Booth technique for creating personalized versions of existing image generation models that feature specific subjects or styles that are not widely represented in the model's original training data. It associates a special keyword with the custom image set, so the featured subject or style will only appear in prompts that include it.
Here's roughly how it works:
- Choose a subject or style for the model to learn: You can select anything from a particular person, pet, or object to a unique artistic style. You'll also want to choose a keyword to associate with your subject.
- Collect your samples: You'll want to round up a small set of images (around 10 to 20) featuring your chosen subject or style is collected. They will serve as the reference for the model. Depending on the model you select, you may need to pre-process images for training.
- Fine-tuning: Once your images are ready, you can start training the AI model, so it can generate new images that contain the subject or emulate the style. This process may involve tinkering with a number of variables, such as the rate at which the model learns, the spec
- Image generation: Once the model is fine-tuned, it can generate new images that include the subject or style when prompted with the special phase, while maintaining the overall capabilities of the original model.
Dreamlook.ai appeared to be a fast and cost-effective way to customize Stable Diffusion, an open-source text-to-image AI model that generates high-quality images from prompts using a diffusion-based generative process. I signed up for an account, collected 25 free tokens, and prepared to customize Stable Diffusion version 1.5.
Preparing images for model training
I gathered up 50 images and then did a little prep work to ensure the training process would go as smoothly as possible. First, I scaled down my extremely large, high-resolution artwork files to be no taller or wider than 512 pixels. I did this so the model wouldn't have to scale down my images, which can lead to distortions if it doesn't correctly guess which way is up.
Rather than manually resize images, I developed a Python script—with some help from ChatGPT—to automate this process. It scans your images, scales down anything with a height or width greater than 512 pixels, and puts the resized images into a new folder. (Getting started with Python is a fairly straightforward process, even if you're unfamiliar with software development.)
You can download this script and learn how to run it yourself on GitHub.
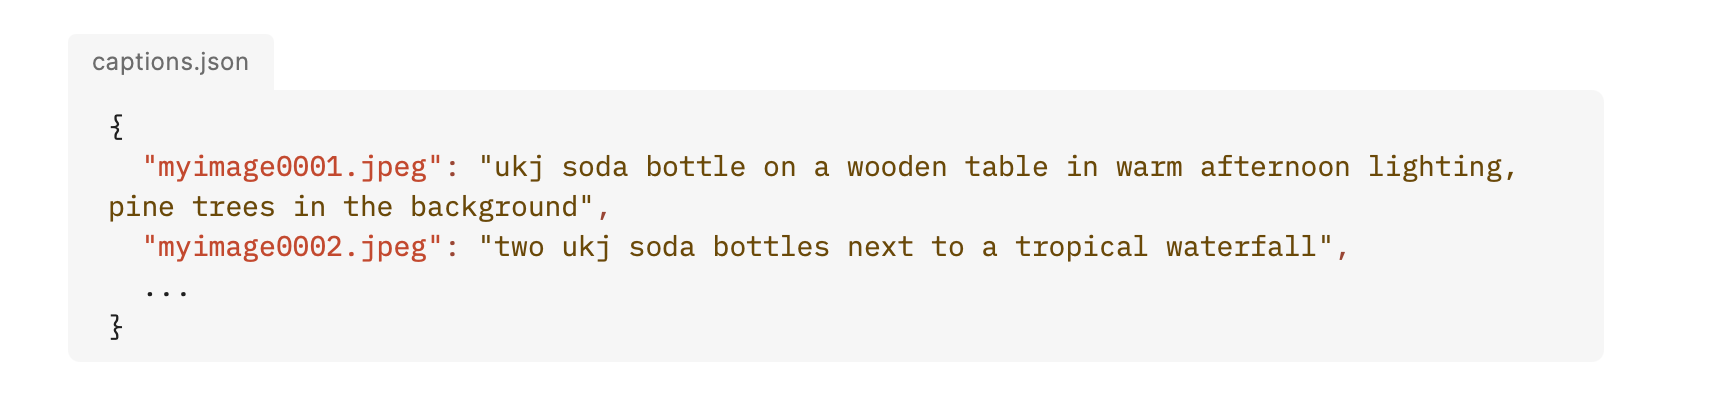
Creating image captions
Once I'd shrunk my images, I decided to create captions that would give the model a better understanding of the content of the artwork and the style I was aiming for. I didn't want to manually write captions for 50 images so, once again, I turned to ChatGPT.
This time, I worked with the model to quickly build a Python script that would use ChatGPT's Vision capability through OpenAI's API to scan all my training images, write captions describing them, and create a CSV file to store file names with corresponding captions. The resulting script failed several times until error codes suggested that my script was using outdated code to access the API.
This time, ChatGPT couldn't help, so I turned to developer forums and OpenAI's own documentation, and finally got the script to work. It was like magic—push a button once and, seconds later, get a neatly formatted file containing 50 captions, no writing or cut-and-pasting required. It was also not exactly free—between debugging the script and its final run, I spent a around a dollar on API calls.
If you want to try out my script, you'll need to set up an OpenAI account and API keys. To keep your API keys secure—anyone who has your API keys can use them to make paid calls on the API—you'll want to save your them locally in a .env file that can then be accessed by your code. I also suggest creating a small test directory containing a single image for testing the script, as you will be charged for failed calls to the API.
Finally, if you're planning to create captions for, say, hundreds or thousands of images, you will want to adjust the script to ensure you don't exceed rate limits for the API. Rate limits exist to manage the load on the infrastructure powering AI models. If you exceed them, you'll get an error message like "Too many requests" or "Rate limit error."
You can download this script and view setup instructions on GitHub.
Editing captions and creating a JSON file
After taking a closer look at Dreamlook's documentation, I realized that I would need to complete two more steps before training my model: trimming captions down to 300 characters and formatting them and their corresponding file names in a JSON file.
If I'd read the documentation more carefully at the beginning of my journey, I could have adjusted my original script to generate shorter captions and output them in the correct format. However, since I already had a .csv full of captions and file names, I opted to create one more Python script to ingest the .csv, use an earlier, less expensive version of ChatGPT to edit the captions, and produce a correctly formatted JSON file.
You can download this script and view setup instructions on GitHub. All the notes in the previous section about API keys and potentially refining the script to better handle rate limits apply here, too.
Starting with Stable Diffusion version 1.5
At last, it was time to run the model. I uploaded my imagery and captions and, five minutes later, I had a model ready to try. I downloaded it to my MacBook Air, set up Diffusion Bee, a free app for generating images with Stable Diffusion on MacOS desktops, and started testing the model.
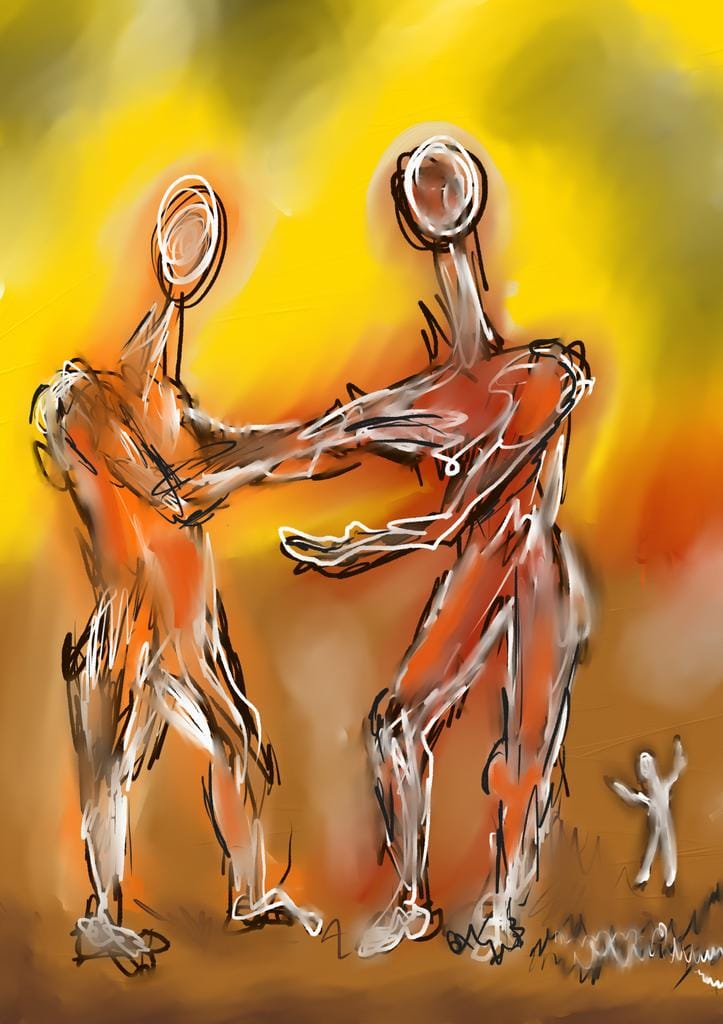
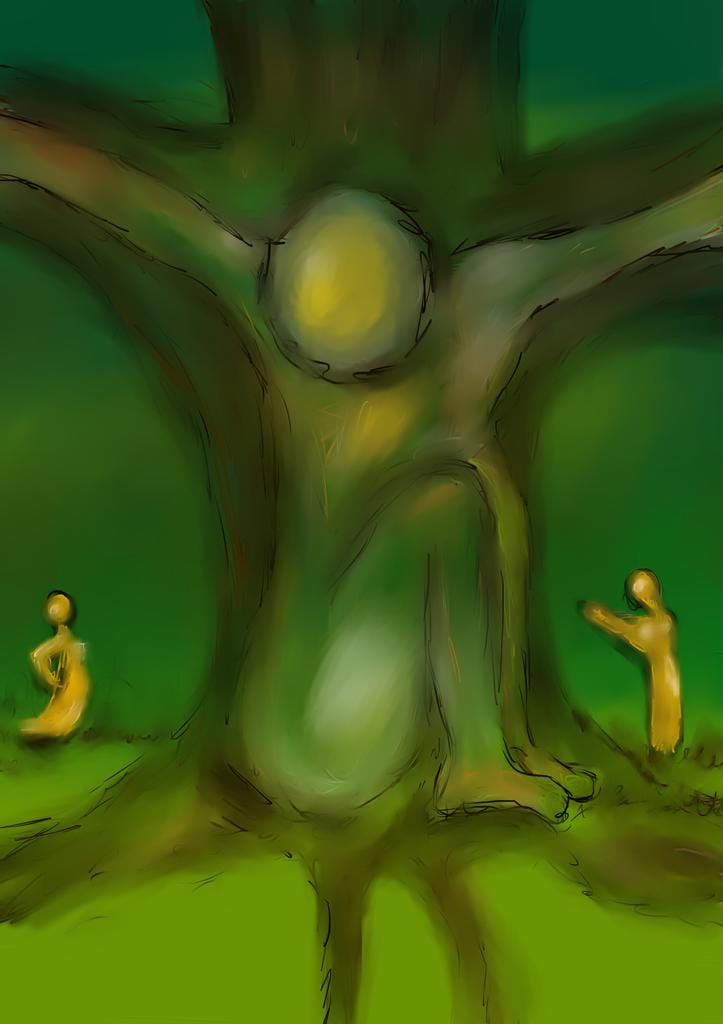
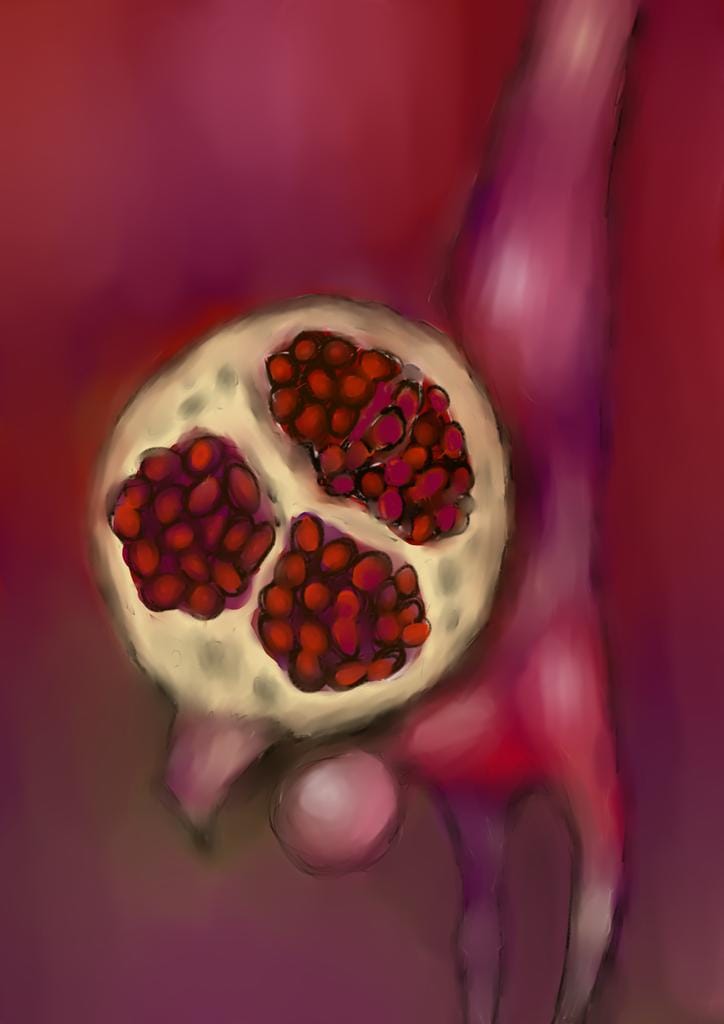
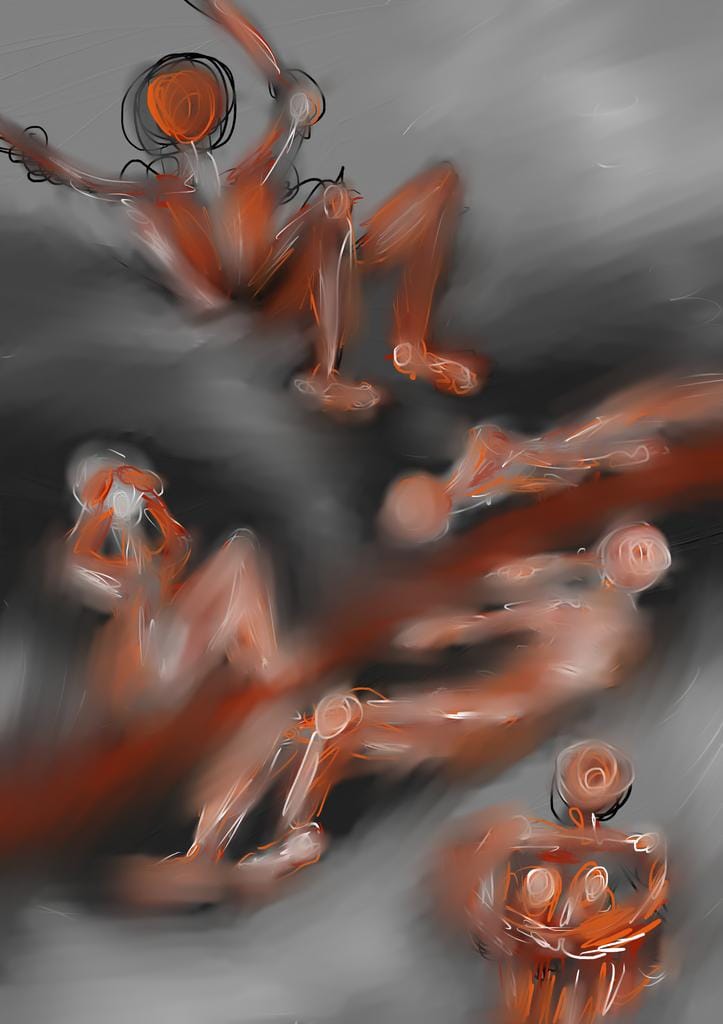
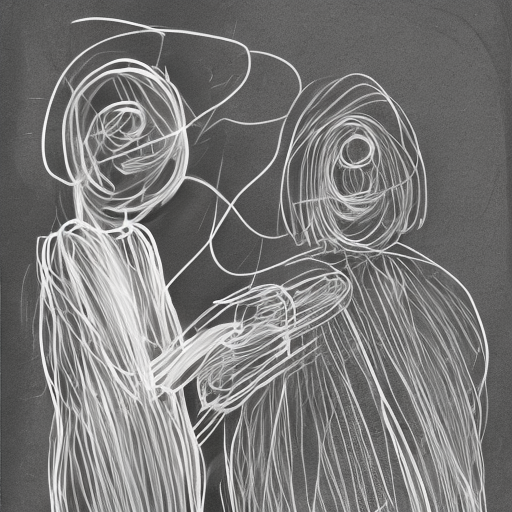
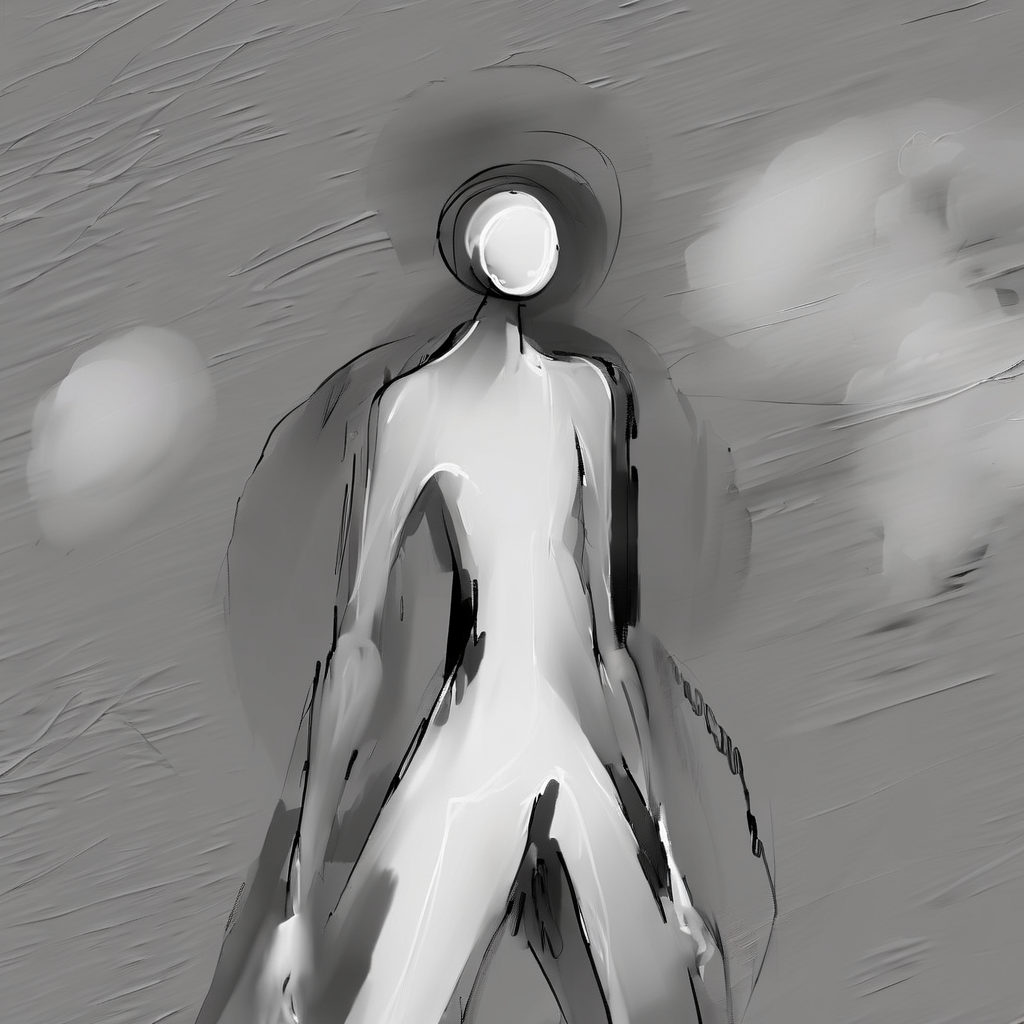
I eagerly ran a few prompts with my special keyword, and the results were...pretty good, but not amazing. Here is a selection of images from my training set:
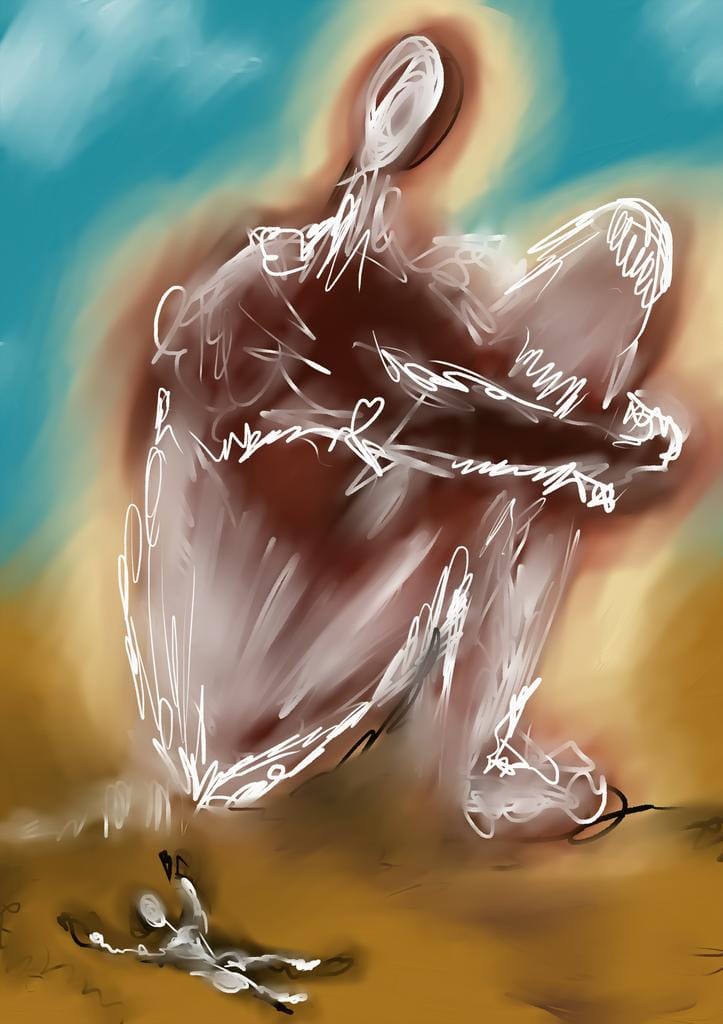
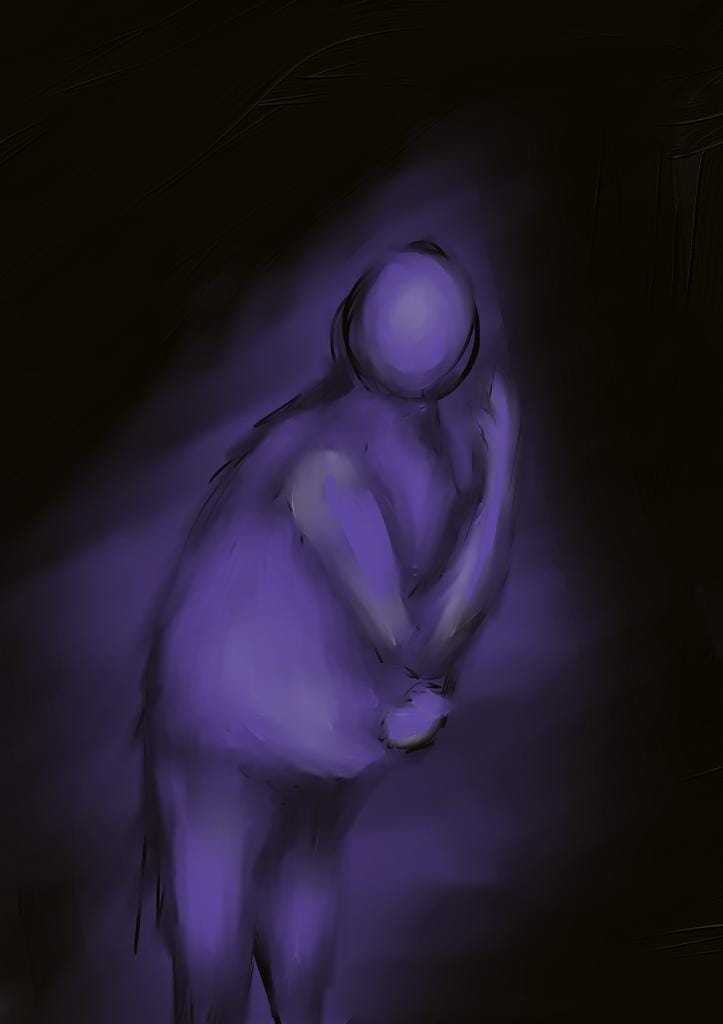
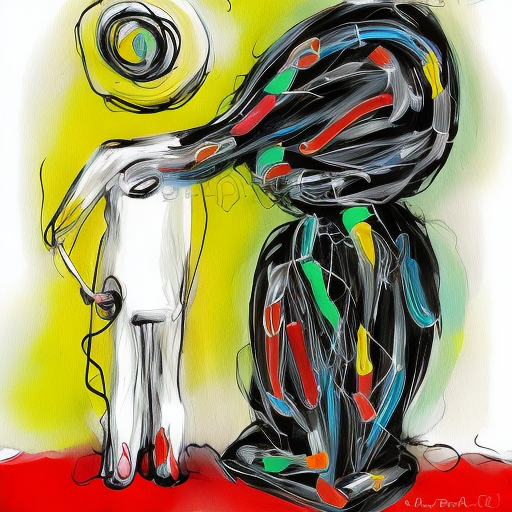
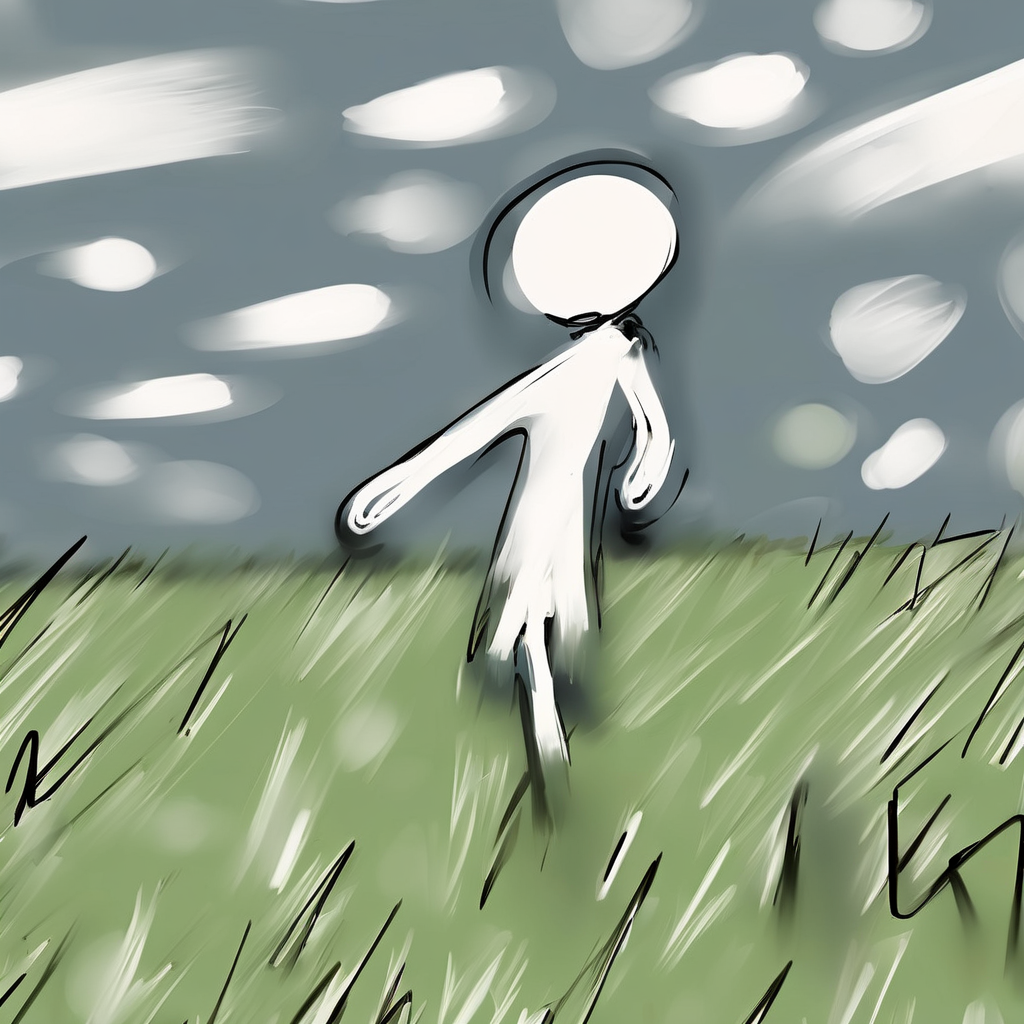
And here are some images I produced with my custom version of Stable Diffusion 1.5:
Moving onto Stable Diffusion XL
To see if I could get better results, I decided to try Stable Diffusion XL (SDXL), another model option available through Dreamlook. SDXL can provide higher quality and higher-resolution images than versoin 1.5, but it does require more resources—more memory, faster chips, more disk space—to run.
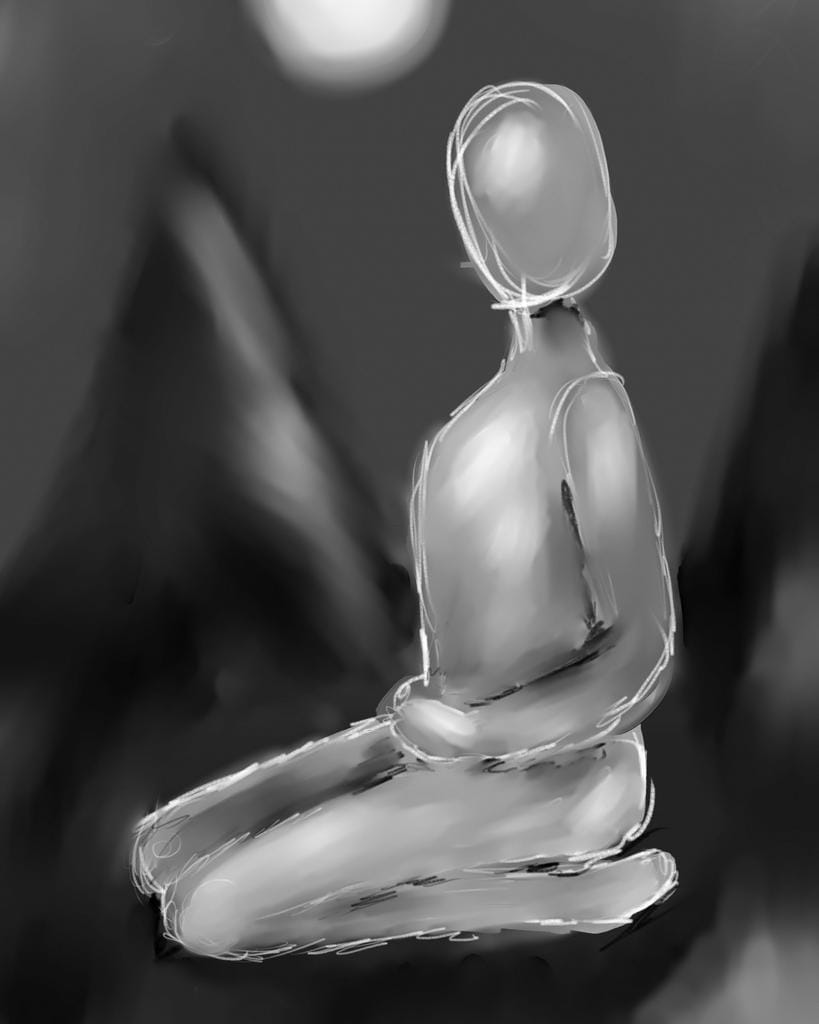
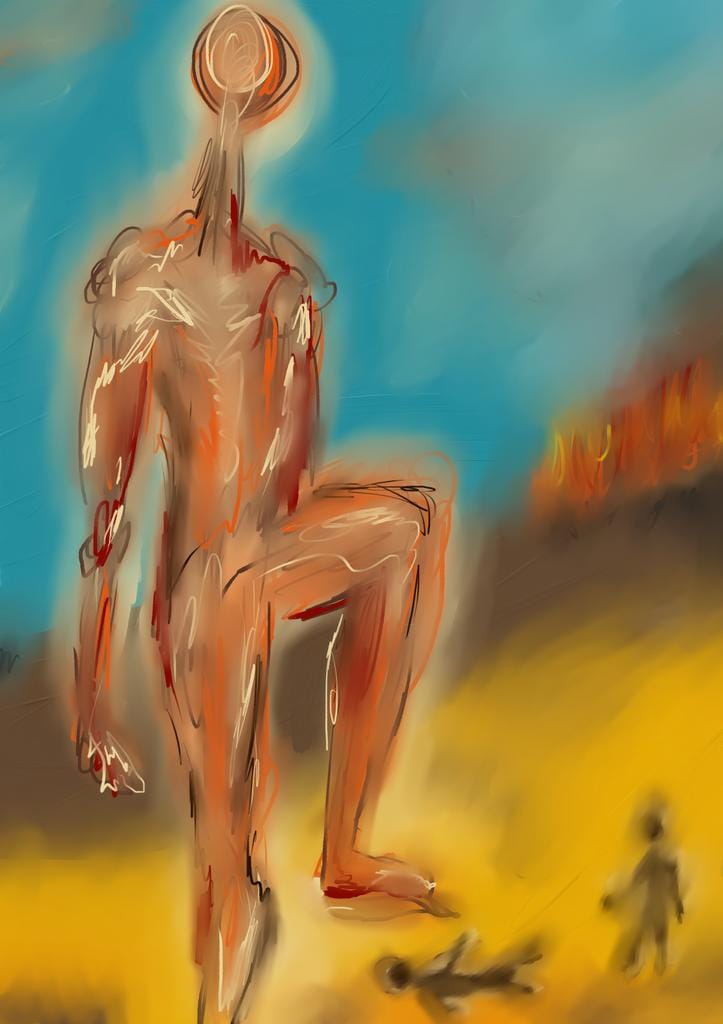
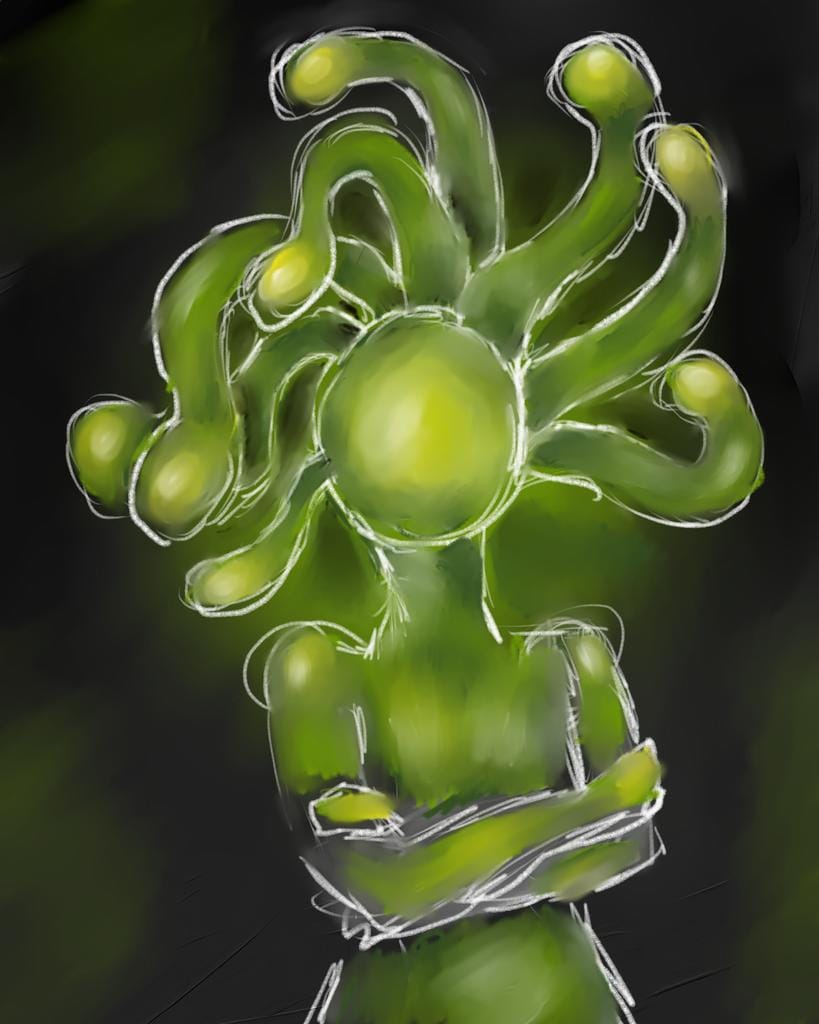
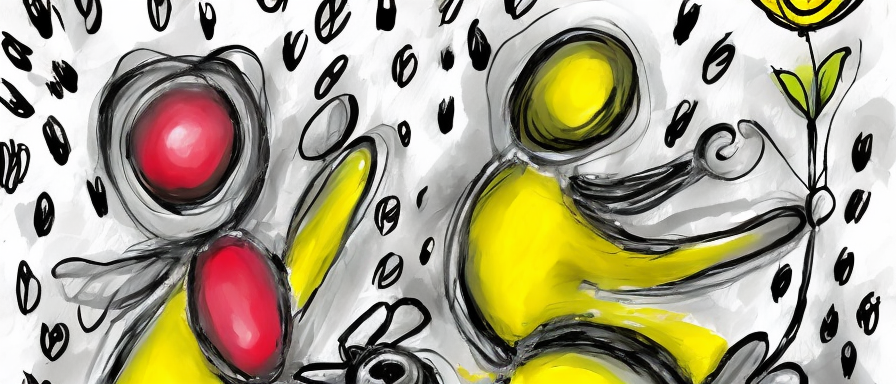
Since SDXL can train on 1024 x 1024 imagery, I re-ran my image-resizing script and trained another model. Because Diffusion Bee doesn't support SDXL, I bought some Dreamlook tokens and generate images and test it out. Results were definitely closer to my training images—maybe 70-80% of what I can produce given a Wacom tablet and a rare quiet afternoon.


Running my SDXL model on Google Colab
One major downside of SDXL—the models are even larger than SD 1.5, It as just too big to run comfortably on my local drive. Since I didn't want to keep burning tokens as I experimented with new ways of prompting my SDXL model, I needed to find someplace in the cloud where I could store and run it. I opted to sign up for a Google Colab account at the $9.99/month level that allows for faster processing and use Python code to call the model, now living on my Google Drive, and generate images. (You can start with a free account.)
I'll cover why I decided this was a good idea and explain how I did it—and how you could do it, too—in another post.
Should you build your own AI art model?
It depends. If you enjoy learning about and tinkering with technology, and don't mind an iterative journey to getting results, then building your own model could be an entertaining and very educational project. The DIY approach is also somewhat less expensive than a service like Tess—although costs for model training and fine-tuning, API calls, storage, and computing resources can definitely add up.
Pros
The promise of creating a model that produces art almost exactly in your style
Somewhat more affordable than simply purchasing art for commercial use.
You will learn about how models are trained.
Depending on how you approach it, you may get lots of practice coding and debugging Python scripts.
Cons
The reality that you'll have to train multiple models and experiment with prompting to get the results you want.
It's hard to get really good results while only using free services.
It can be very time-consuming.
For me, building my own models was definitely a worthwhile project, and I'm planning to take it even further by tinkering with training methods and taking a look at the art models folks are posting on Hugging Face.
The experiment continues...